
Do you want complete control over your WordPress Theme?
Well, then custom theme is the way to go.
However, creating a WordPress theme from scratch is a complex process for most site owners. You can always hire a developer to create a custom theme for you, but
- This can be quite expensive.
- You will be locked into the custom theme. If your requirements change in the future, you again need to hire a developer to get the changes done.
- You lose time since you need to wait for the theme to be ready.
So, what’s the solution?
Using a theme builder plugin can give you the flexibility to create a WordPress theme from scratch and change it as per your need. So, you save time and money, while having full control over your theme.
Let’s understand the process in detail.
In this tutorial, we will use Divi Theme builder to build a custom theme.
First things first, you would need a theme to start with.
The good news is that Divi builder comes with the Divi theme. But you can use any lightweight free theme since we will overwrite the theme completely using the Divi theme builder.
Getting started
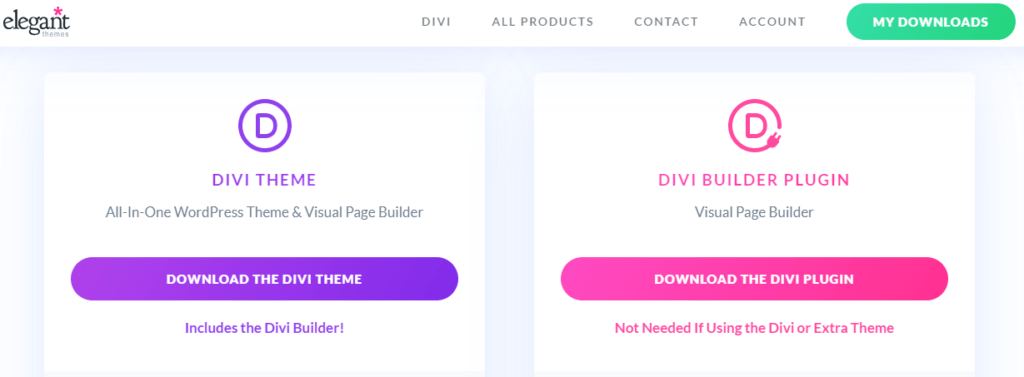
Step 1- Sign up or sign in for elegant themes.
Step 2- Go to the “My Downloads” section and download the Divi builder plugin. You can also download the Divi theme which comes with the Divi builder.
But we will go with the Divi builder plugin option in this tutorial because we already have a theme installed.
This will download the zip file on your desktop. By default, it will be saved in the Downloads folder.
Step 3- Login to WordPress, go to plugins, click on add plugin and then upload plugin.
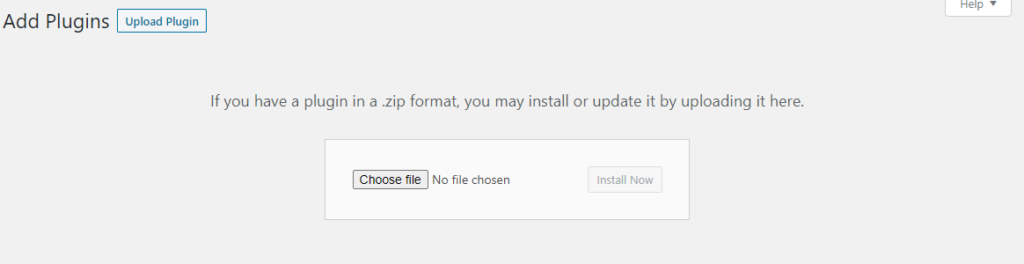
Step 4- Choose the zip file from your desktop (Downloads folder).
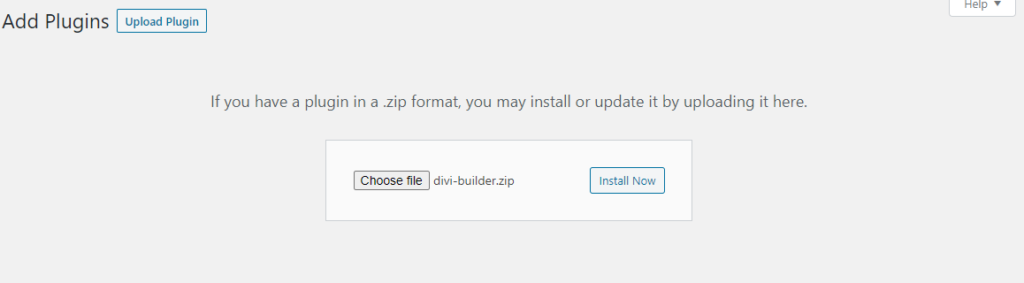
Then click install.
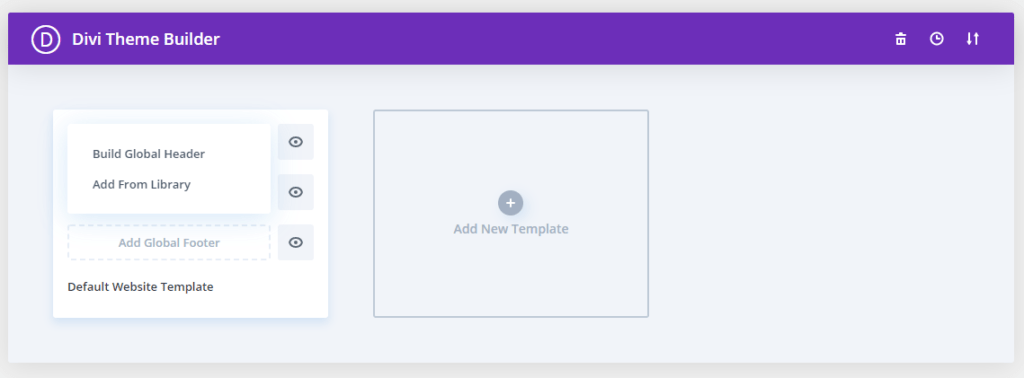
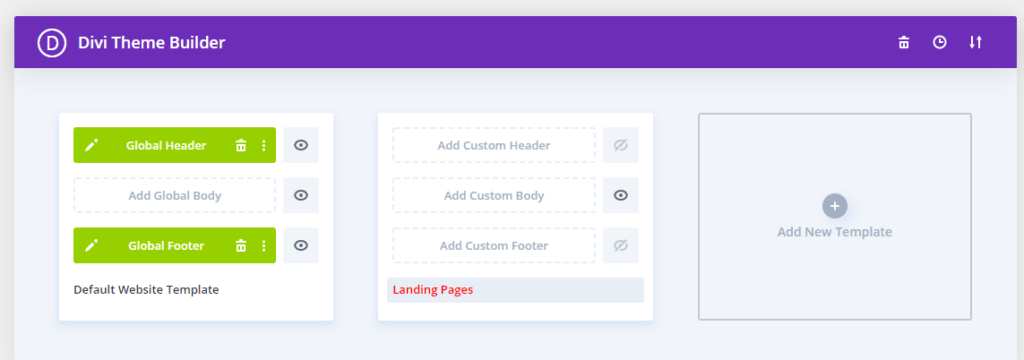
Step 5- Now go to the “Divi option” and choose “Theme Builder”. You will be taken to the “Divi Theme Builder”.

Build a Global Template
The first thing we need to do is to build a layout that will be used by default for all posts and pages.
Step 1– Click “Add Global Header” to create a header layout. And choose “Build Global Header”.
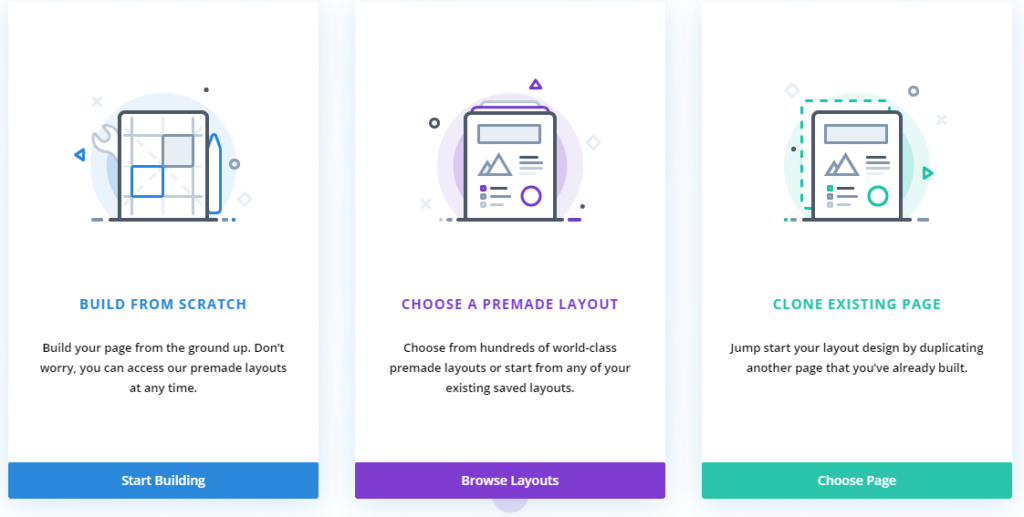
Step 2– You will get three options to choose from. Since we want a unique layout, let’s go with “Build from Scratch”.
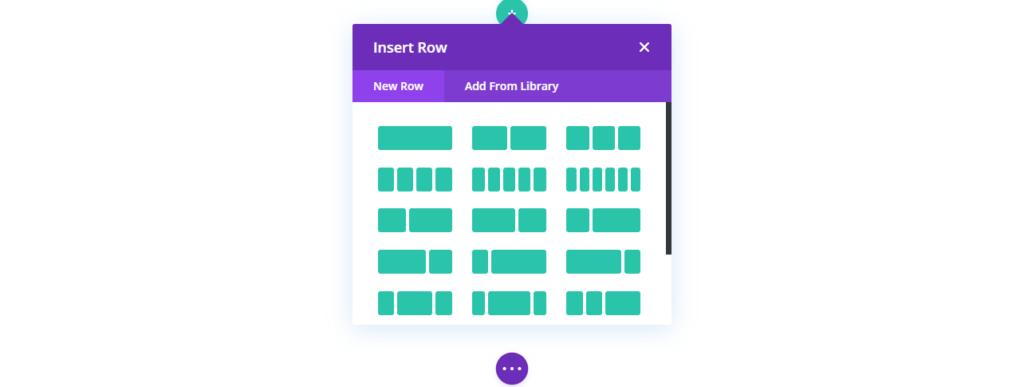
Step 3- Choose a layout. You would ideally need a multi-column layout. We will go with two columns. You can always change it later if you want.
Step 4- You can add different elements here. But you at least want a menu in header for navigation.

Step 5- Edit menu settings to get the header you are happy with. Once you are done, save the header layout.

Step 6– Now go back. You will notice that the “Add Global Header” has turned green. This colour indicates that it’s a global layout and applies to all pages and posts by default.
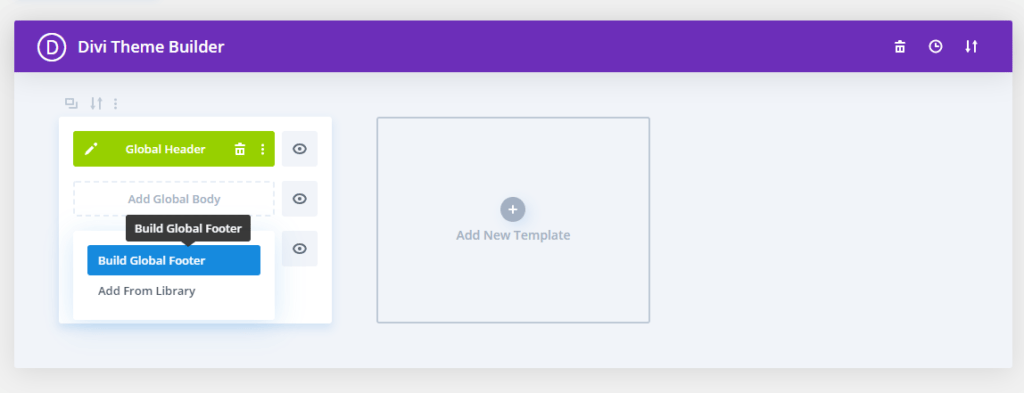
Then choose Click “Add Global Footer” to create the footer layout. And choose “Build Global Footer”.
Step 7- You will get the same options, we will again go with “Build from Scratch”.
Step 8– This time we will go with a four-column layout. Since we want to build specific links.
Step 9– Add the elements that you would like to be included in the footer. You can update settings to have a custom footer. Once you are satisfied, save the layout.

Step10– While you can edit the Global body also, we will leave it blank. That way we will retain control of the body on each specific page. This means we can use Divi builder to edit specific pages.
Build a Custom Template
While you would need a default template, chances are that the default template will not work for all page types.
For example, if you are creating landing pages you would not want to distract users with navigational items. Another example could be post pages because all posts should have a consistent layout.
Let’s see how to create custom templates.
We will look at these 2 examples which will give you an idea of how to create custom templates for specific needs.
Landing Page Template
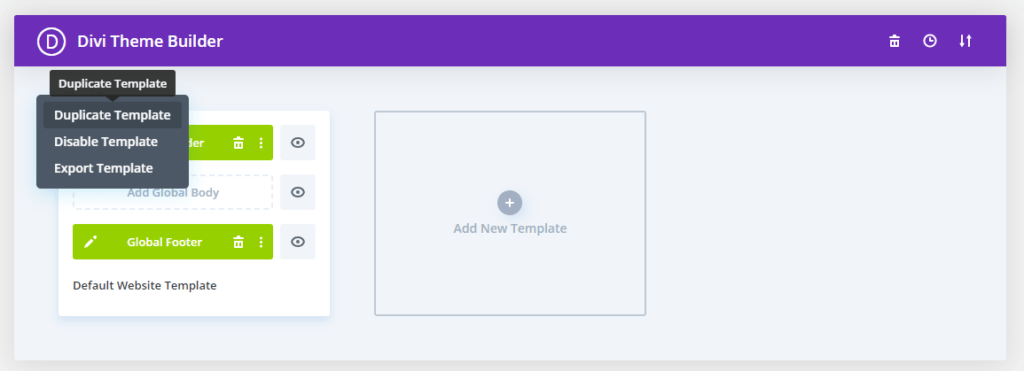
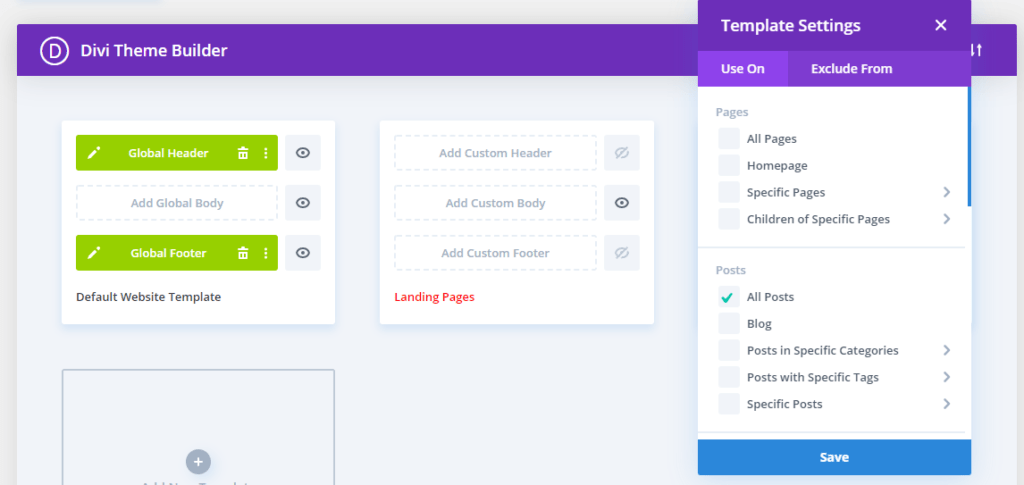
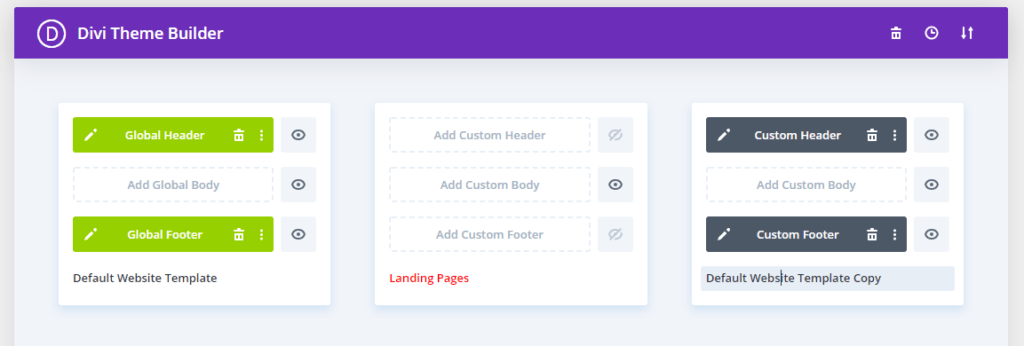
Step 1- To create a custom template for specific needs, copy the default template using the “Duplicate Template” option.
Step 2– Now rename the template to an appropriate name. Since this is going to be used for landing pages, we will call it “Landing Pages”.
As you would notice, we have also hidden the header and footer on this template. This is because we want users to focus on the landing page CTA and not get distracted by other links.
Step 3– We will still leave the custom body blank. That way we can control the body layout and elements on specific landing pages.
Now let’s look at how to create blog post templates.
Blog Post Template
Blog posts are unique in the sense that you need a consistent layout and you need to be able to use dynamic content such as post titles and post content.
Let’s see how to create a blog post template.
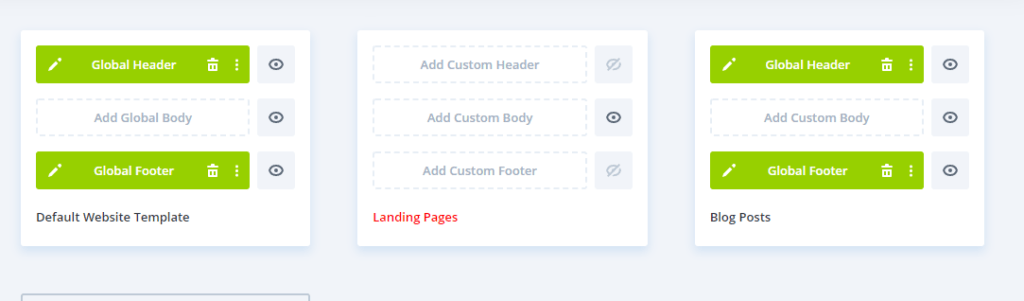
Step 1- Once again, duplicate the default template.
Step 2- We want to apply the template to all posts, so choose the option to include all posts.
Step 3- The template will be copied.
Step 4– Now delete the custom header and footer. Then, drag the “Global Header” and “Global Footer” from the default template and drop them in the blog post template.
Also, rename the template to an appropriate name (e.g. “Blog Posts”).
Step 5- Click on “Add Custom Body” and choose “Build Custom Body”. Then choose “Build from Scratch”.
Step 6- Choose a column layout. If you need sidebars, you can go with a multi-column structure. But in this example, we will go with a single column.
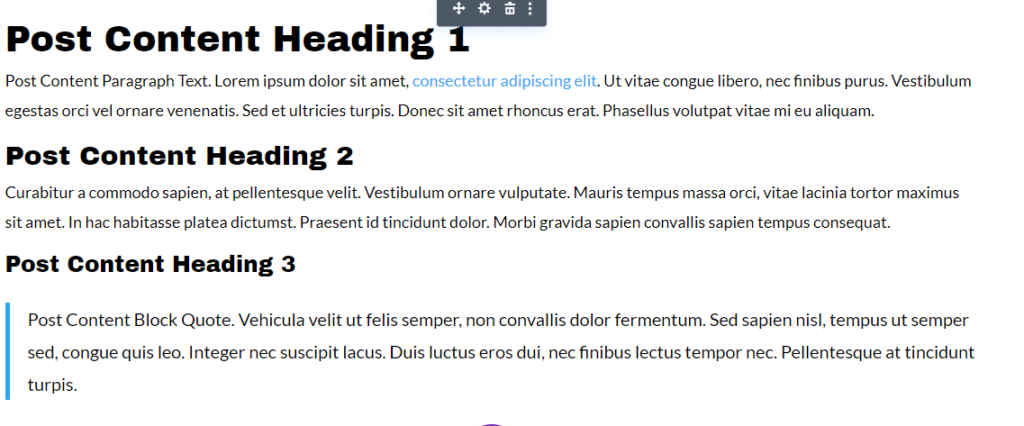
Step 7- Now, you need to add dynamic content such as post title, post content, post navigation, etc. Customize the setting to meet your requirements.


Once you are satisfied with the layout, save it.
Final Step
Come back to the theme builder and save the theme.

That’s all.
You can create additional templates for specific needs (such as archive pages, search pages, etc). The theme can be as unique as you want it to be and you have total control over it.
Not only that, you have the power and flexibility to change the theme based on your changing requirements in future.
So, go on and build your perfect custom WordPress theme from scratch using the Divi Builder.
