Landing pages are the most important digital marketing tool to convert visitors into leads and customers.
But let me guess. You probably know that.
You are here to learn the process of creating high-converting landing pages in WordPress. So, let’s get started.
While you can create landing pages using WordPress editor, it won’t look good since WordPress editor is not designed for creating landing pages.
You will need a page builder plugin to create landing pages in WordPress.
Before we get into details, the high-level process of creating landing pages in WordPress will be
- Install a landing page builder plugin
- Add a new WordPress page
- Edit it with the landing page builder tool
- Publish the page
We will use the Divi builder plugin in this tutorial. Divi is a powerful landing page builder. What sets it apart from other popular page builder plugins is the ability to run A/B tests. That way you can constantly optimize your landing pages.
Step-by-Step Process of Creating a Landing Page Using Divi Builder
Here is the step-by-step process of creating landing pages using Divi.
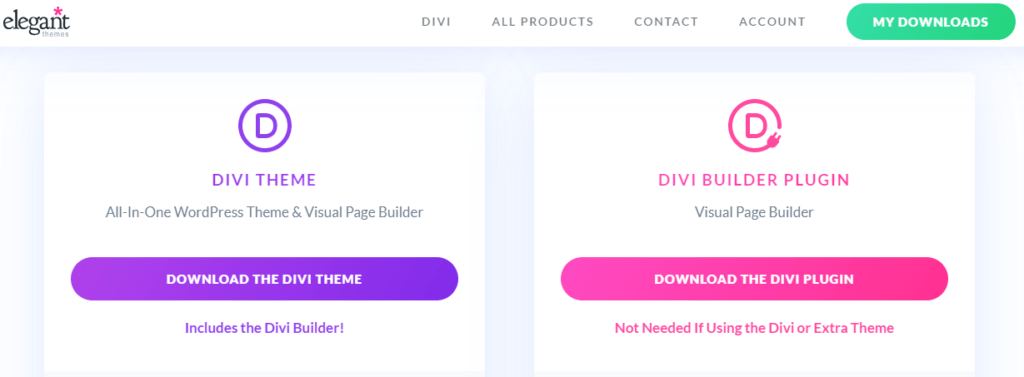
Step 1- Sign up or sign in for elegant themes.
Step 2– Go to the “My Downloads” section and click “Download the Divi Plugin”.
This will download the zip file on your desktop. By default, it will be saved in the “Downloads” folder.
Step 3- Login to WordPress, go to plugins, click on add plugin and then upload plugin.
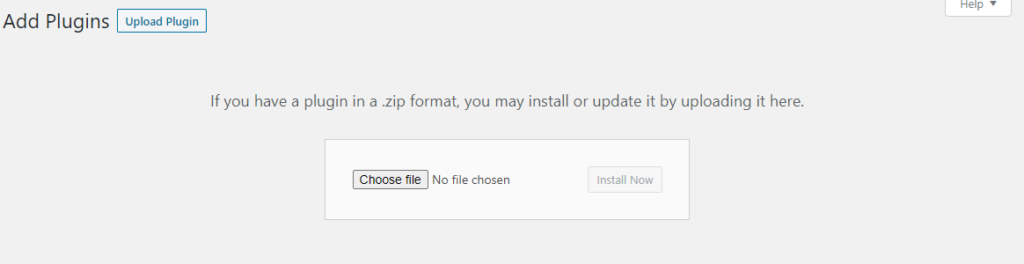
Step 4- Choose the zip file from your desktop (Downloads folder).
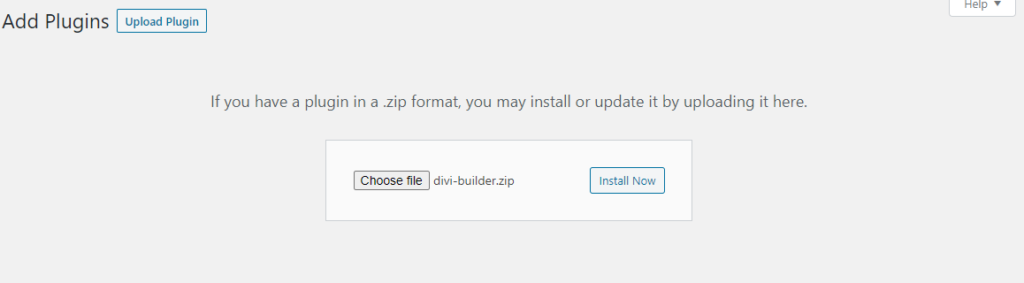
Then click install.
Step 5- Add a new WordPress page, but make sure there are no links, header, sidebar, etc enabled on the page. Disable all these settings.
Why are we doing this change? Because disabling all the navigation options is an important landing page best practice. This setting ensures users are focused on your landing page CTA, hence increases conversion.
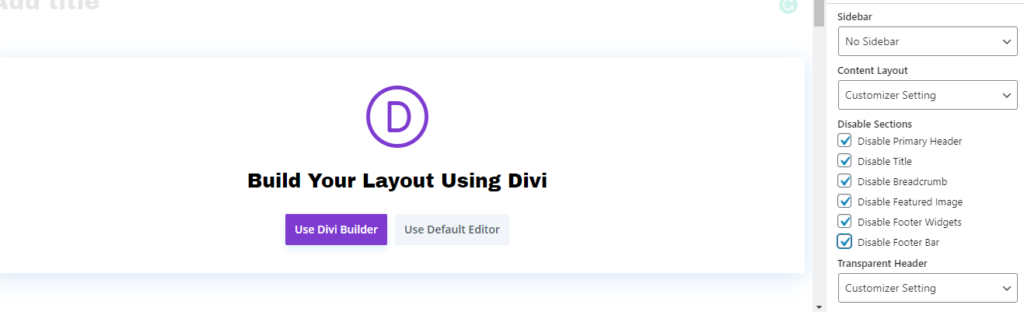
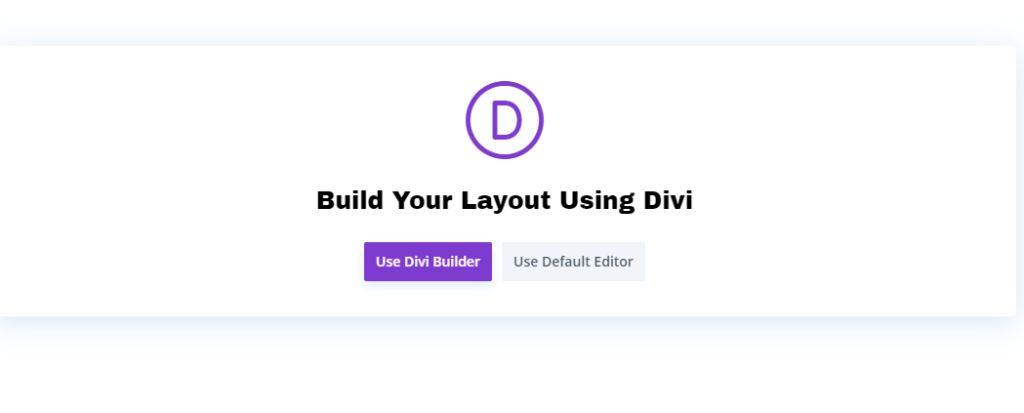
Step 6- Click on “Use Divi Builder”.
Step 7- You will get three options.
- Build from scratch
- Choose a premade layout
- Clone existing page
Choosing a premade layout will not only save time but will give you a proven conversion-focused template. You can always edit the template later. So, we will go with that option.
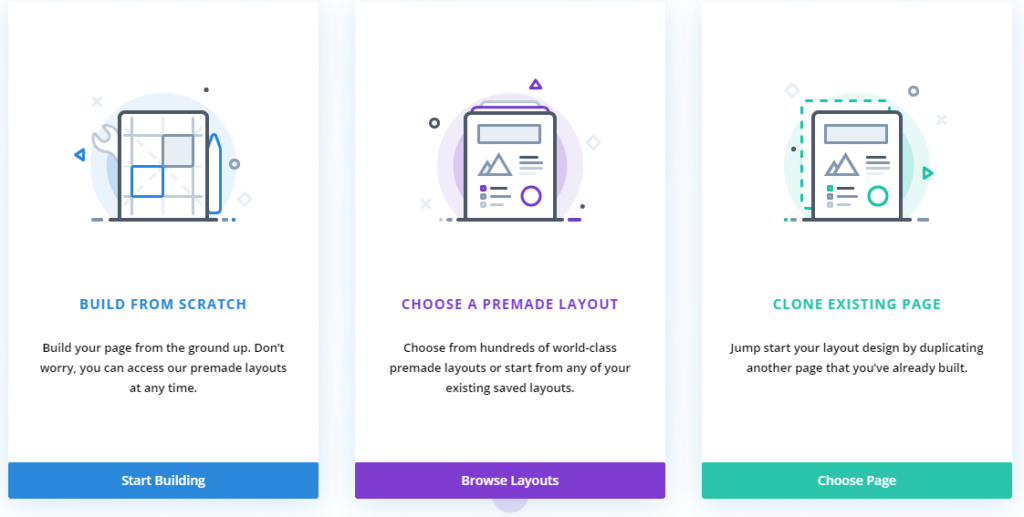
However, for some users, it might be overwhelming to choose from these premade layouts. If this is the case with you or you already have a landing page structure in mind, you can go with the “Build from scratch” option as well.
Step 8- Search for the option that is closest to your requirements. You can always change each and every element.

Step 9- Once you like a layout, select it.
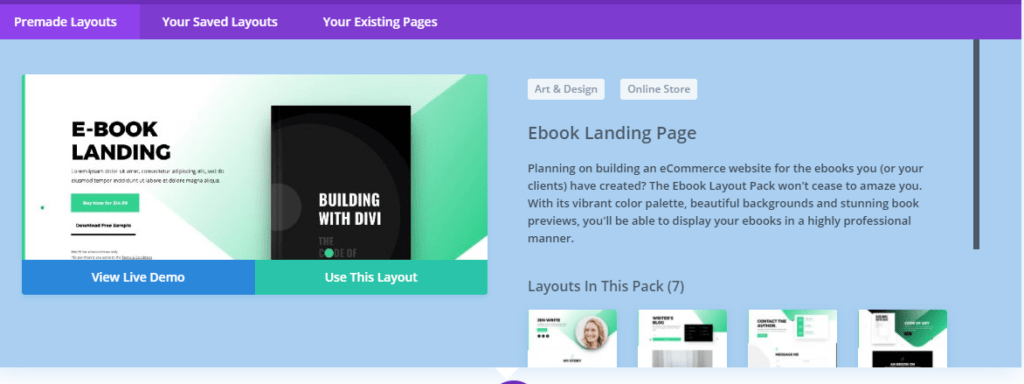
You can always change each and every element later.
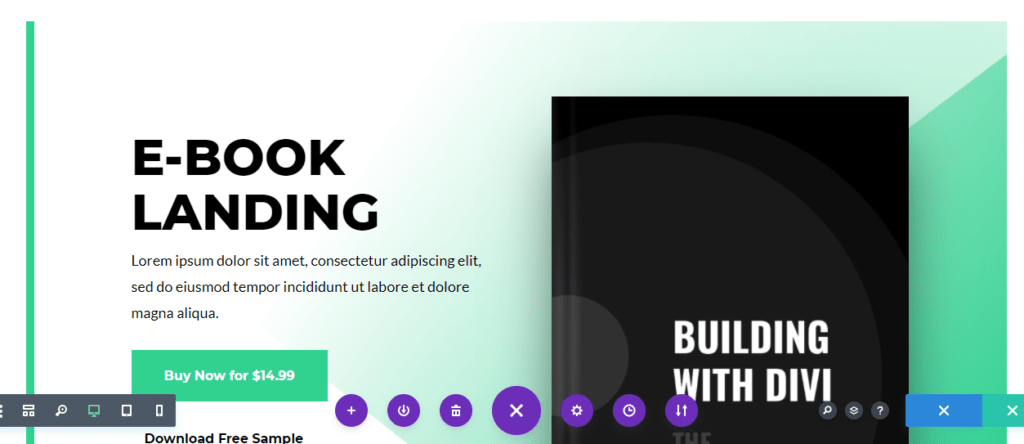
Step 10 – You can change the settings and details of any element.
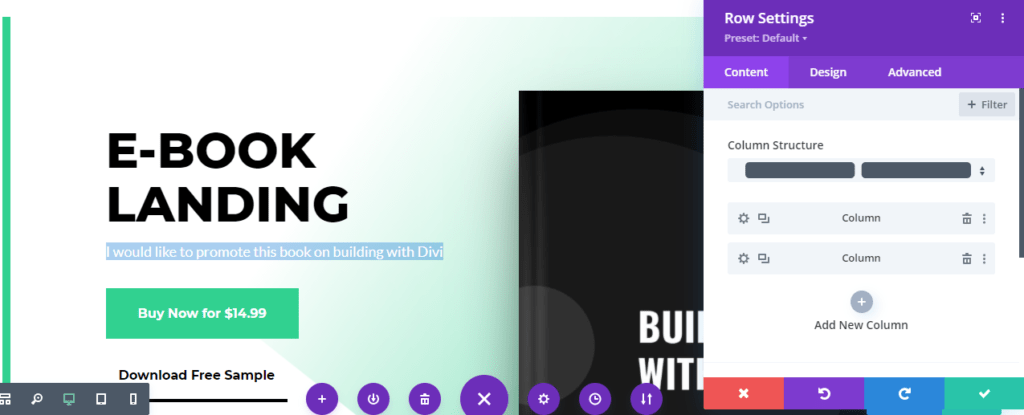
You can also add new elements or remove existing elements. So, you have full control.
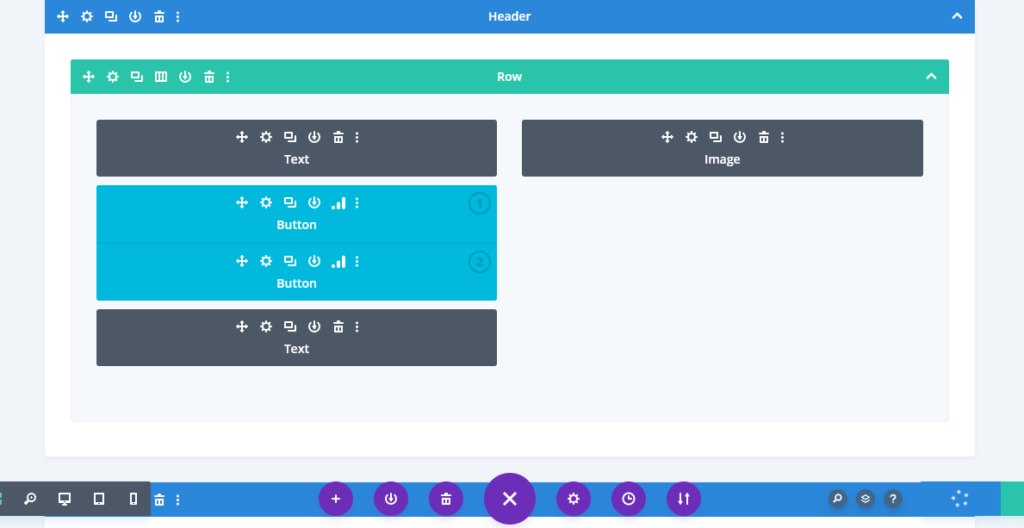
Step 11 – You can select an element and choose to run a split test. For example, you can create 2 buttons one with red color and another with green colour, and see which is getting clicked more. That way you can choose the winner and optimize conversions.
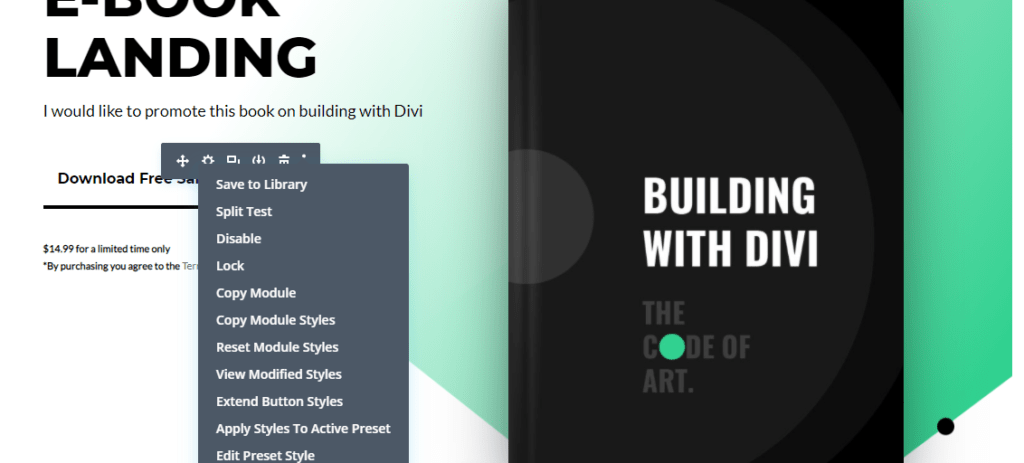
Divi will create 2 variations of this section.
That’s all. You can publish the page and start converting visitors.
Divi will start collecting stats on the split test. Initially, there would be nothing.
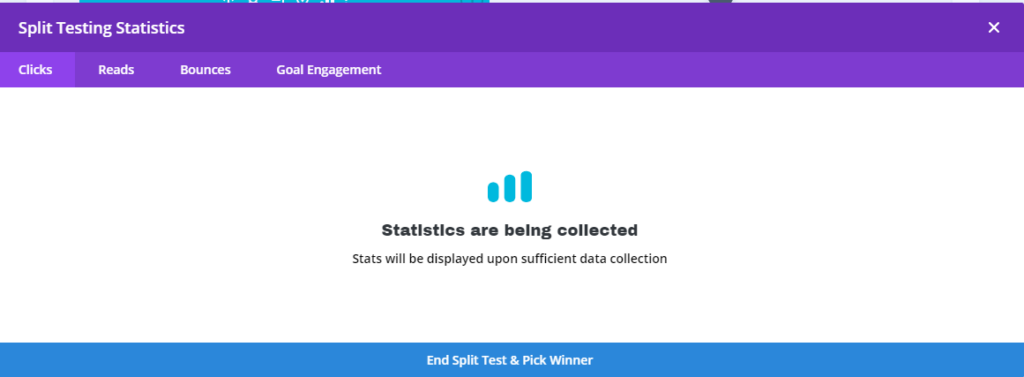
But if you come back after few days, you can see the stats. You can then choose the winner based on the conversion rate.
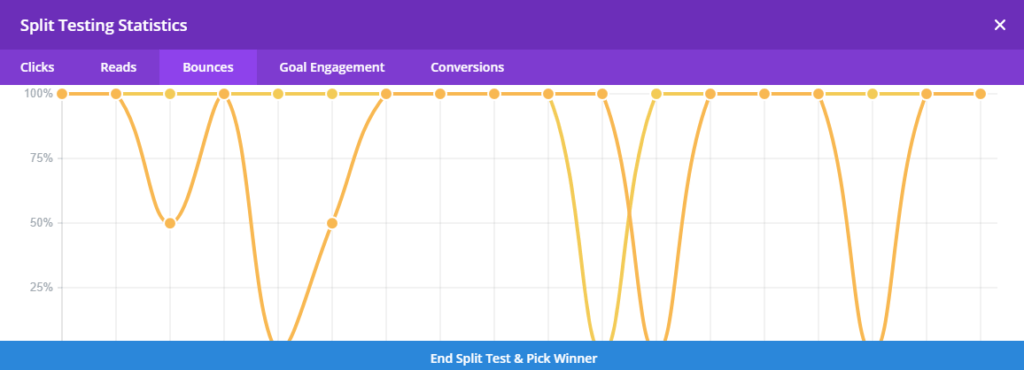
You can let the split test run till you have a clear winner. Then, just end the test and choose the winner to optimize the conversions.
